Service Hotline
+1 4152729688
2023-09-21 15:45:08
First, acoustic emission:
Many of the machines used in manufacturing produce high-frequency acoustic emissions. These emissions can be used for a wide range of tool condition monitoring applications, such as tool wear monitoring, identifying tools, interpreting tool life, and identifying tool breakage. Perform tool condition monitoring using acoustic emission sensors. These sensors are commonly used on tool surfaces to identify dynamic motion caused by acoustic emission. This motion is converted into a voltage time signal. This signal is further used in all steps of tool condition monitoring.
Second, power monitoring:
Power monitoring uses PWM sensors to sample the current and voltage of the spindle motor. The power used to process the material is learned and stored in the software. Subsequent cuts are compared to the original learning curve to see if too much or not enough power is being used. When a tool breaks, it is common to see a spike that exceeds the breaking threshold and can cause the machine to malfunction. If the tool is damaged before machining or the part has been previously machined (double-cut parts), the cutting power will not be seen and the machine will be stopped due to a lack of conditions.
3. Vibration analysis:
The tool monitoring system based on vibration analysis uses vibration information to analyze machine health. Vibration analysis can be used to detect a wide range of problems, including bearing failure, mechanical loosening of parts, misalignment of parts, unbalance, critical speed, and more. It is performed using an accelerometer, which is usually built into the tool. The accelerometer will produce a voltage signal corresponding to the vibration frequency of the machine. The data generated by the accelerometer is fed to software that records the signal as a Fourier transform or time waveform. This data is further analyzed by algorithms that engineers use to determine the machine's health.
Fourth, position monitoring:
In this technique, the system uses encoders and servo motors to learn tool positions. They use a probe or wand to check the position. The tool location is stored and checked after each loop to see if the tool is present in a window. If the wand does not reach the previously recorded location or pass through it, it may indicate that the tool is damaged.
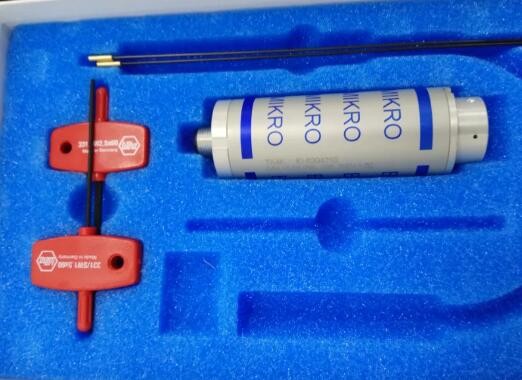
The above content is the four working methods of BK Mikro broken knife testing system, in addition, Shenzhen Oudejie Technology professional sales of original imported BK Mikro broken knife testing system, and promised to sell products are new original imported, while providing customers with quotation, selection, product information and other services.
